Taking screenshots on a Mac is one of the simplest yet most powerful features macOS offers, whether you are capturing quick notes, sharing a bug in a security forum, or documenting a crucial cybersecurity workflow. Yet, many users—especially professionals who multitask between presentations, reports, and security alerts—do not realize how versatile Mac’s screenshot tools are.
In this guide, we’ll walk you through how to take a screenshot on Mac using built-in shortcuts, advanced methods, and professional tips. We’ll cover everything from capturing your full screen to customizing screenshots with annotations—optimized for both beginners and power users in 2025.
Why Screenshots Matter in Cybersecurity Workflows
For online security professionals, CISOs, or IT analysts, screenshots are more than just images—they’re evidence. Capturing error messages, phishing samples, malware alerts, or suspicious server behavior helps streamline investigations and reporting. For CEOs and founders, quick screenshots save time when delegating tasks or sharing strategic notes with teams.
Methods: How to Take a Screenshot on Mac
1. Capture the Entire Screen
The most common method:
-
Shortcut: Press Command (⌘) + Shift + 3
-
macOS instantly saves a full-screen screenshot to your desktop by default.
This is especially helpful when reporting incidents to your IT team, ensuring nothing on your display is missing.
2. Capture a Portion of the Screen
If you only want to capture part of your display:
-
Shortcut: Press Command (⌘) + Shift + 4
-
Drag the cursor to select the desired area.
-
Release your mouse/trackpad to capture.
This targeted method is popular for isolating suspicious pop-ups or sensitive data snippets without sharing your entire desktop.
3. Capture a Specific Window
Need to capture only one application window?
-
Shortcut: Command (⌘) + Shift + 4 → Press Spacebar
-
The cursor turns into a camera icon.
-
Click the window you want to capture.
Great when preparing cybersecurity tutorials, as it removes background clutter.
4. Capture the Touch Bar (MacBook Pro Users)
For those using Touch Bar-enabled models:
-
Shortcut: Command (⌘) + Shift + 6
-
Saves an image of your current Touch Bar display.
This is useful when collaborating with developers debugging shortcuts or custom scripts.
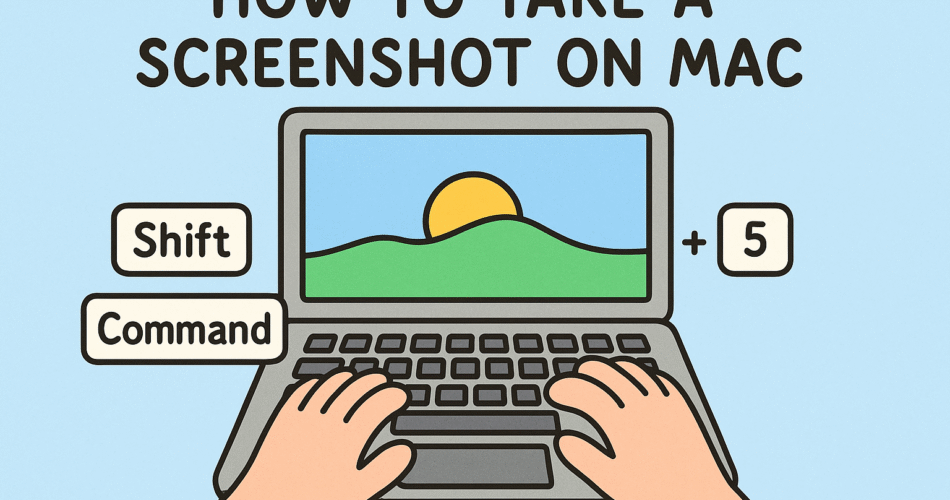
5. Use the Screenshot App (macOS Mojave and later)
Modern versions of macOS come with the Screenshot Utility, accessible via Command (⌘) + Shift + 5.
From here, you can:
-
Capture the entire screen, a specific window, or a selected area.
-
Record your screen with audio input.
-
Adjust settings such as saving location, timers, and floating thumbnails.
For executives, this tool simplifies capturing presentations or confidential board meeting notes with just a few clicks.
Advanced Tricks for Professionals
Change Screenshot Save Location
By default, screenshots save to the Desktop. To customize:
-
Open the Screenshot App (Command + Shift + 5)
-
Click “Options” → Select location (Documents, Clipboard, or custom folder).
Cybersecurity professionals may direct screenshots to encrypted drives for safer handling of sensitive data.
Copy Screenshot to Clipboard
Instead of saving as a file:
-
Press Control + (Screenshot Shortcut)
-
Paste directly into Slack, Teams, or emails.
This reduces clutter and enhances secure communication.
Annotate Screenshots with Markup
macOS offers built-in editing:
-
After capture, click the floating thumbnail.
-
Use Markup tools to highlight, draw, or add text.
Perfect for CISOs preparing reports for shareholders or IT teams highlighting malicious activity.
Third-Party Tools for Power Users
Sometimes, the built-in tools aren’t enough. Popular alternatives include:
-
CleanShot X – Powerful annotation and cloud sharing.
-
Snagit – Screen recording plus professional annotation.
-
Lightshot – Quick capture and easy online sharing.
Security-conscious users may prefer tools that store data locally rather than syncing to the cloud.
Troubleshooting Screenshot Issues
Why can’t I take screenshots on Mac?
-
Check System Preferences > Keyboard > Shortcuts. Shortcuts may be disabled.
-
Verify storage space isn’t full.
-
For work-issued Macs, admins may restrict screenshot permissions for compliance reasons.
My screenshots are blurry—why?
-
Ensure you’re not zooming in too far.
-
External monitors may affect screenshot resolution.
Best Practices for Professionals
-
Secure Sensitive Screenshots – Store in encrypted folders.
-
Label Consistently – Rename with timestamps for easy audits.
-
Avoid Metadata Exposure – Screenshots may contain hidden metadata; strip when sharing externally.
-
Use Clipboard for Fast Transfers – Prevents clutter in sensitive environments.
FAQs About Taking Screenshots on Mac
Q1. How do I take a screenshot on Mac without saving it?
Press Control + your chosen screenshot shortcut to copy to clipboard instead of saving.
Q2. Can I record my screen on Mac without third-party tools?
Yes, use Command + Shift + 5 → choose a recording option.
Q3. Where do screenshots go on Mac by default?
They save to your Desktop, but you can change this in Screenshot > Options.
Q4. How do I take a screenshot of the Touch Bar?
Use Command + Shift + 6 on Touch Bar-enabled MacBook Pro models.
Q5. Why is my Mac not letting me take screenshots?
Permissions may be blocked by MDM or privacy settings. Check Security & Privacy permissions.
Q6. Can I change the screenshot format from PNG to JPEG?
Yes, via Terminal command: defaults write com.apple.screencapture type jpg
Q7. Are screenshots safe to share in cybersecurity reports?
Yes, but scrub sensitive or personal data first. Use redaction tools or annotation.
Final Thoughts
Mastering how to take a screenshot on Mac is not just a convenience—it’s a productivity booster and a security enabler. From reporting incidents to capturing proof during audits, professionals who understand these tools work faster and more effectively.
Whether you’re a CEO preparing investor notes, a cybersecurity analyst documenting threats, or a developer debugging UI issues, these shortcuts and apps will make your workflow seamless.
If you’re passionate about sharing expertise in technology and security, consider contributing to our community. Check out our Write for Us page for guest posting opportunities.